How to Make a Photo Sticker on iPhone (Cut Out Subjects On-Device)
Open a photo in the editor, tap the subject, and a moment later it is a cut-out sticker with a clean edge, ready to drop anywhere on the page. The dog without the lawn. The kid without the messy kitchen behind them. No tracing, no eraser, no green screen.
The feature looks like a party trick and runs like a piece of computer vision, because that is what it is. Here is what happens when you tap.

How the cutout works
Pressbook hands the photo to Apple's Vision framework and asks for a foreground instance mask, the same class of request that powers subject lift across iOS. It runs in two passes. First, a downscaled copy of the photo goes through detection, which is fast and finds every subject in the frame at once along with where each one sits. Then, for the subject you tapped, the full-resolution photo runs through again to extract a precise mask at print quality.
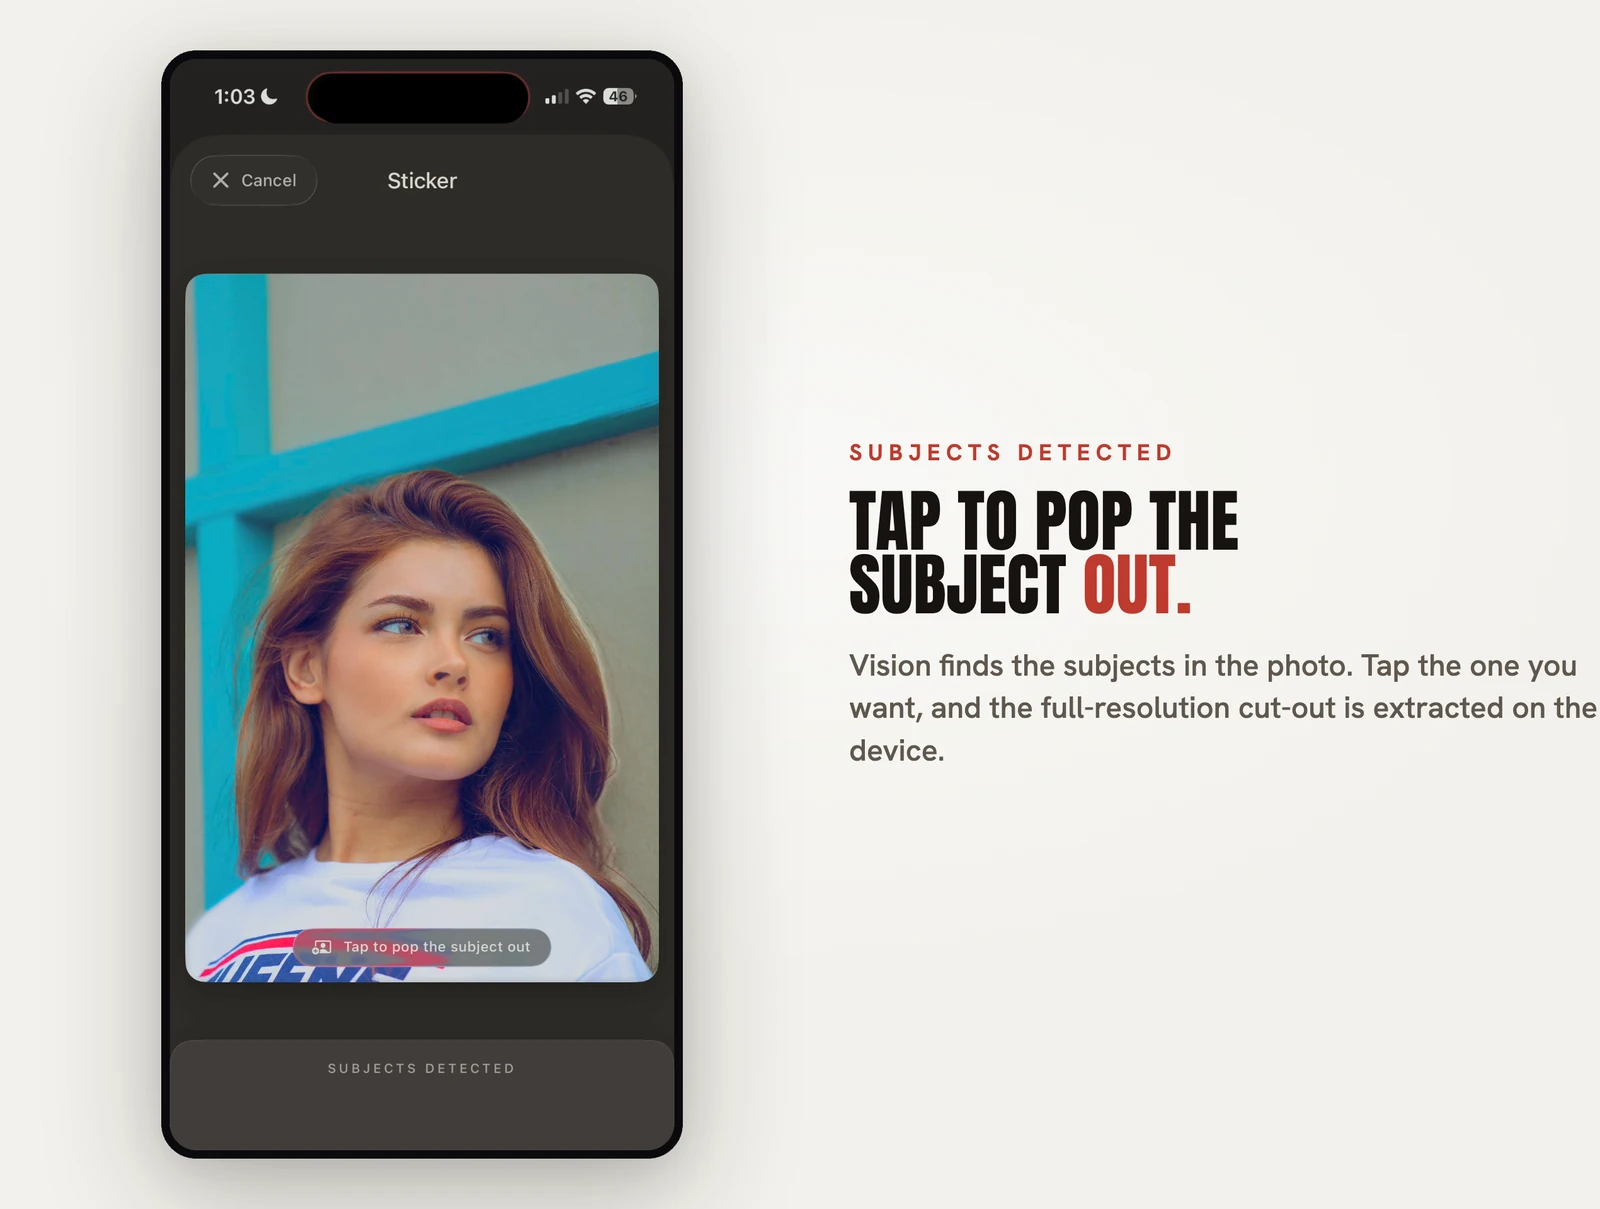
Splitting it into two passes is what makes it feel instant. Detection on a small copy returns quickly, so the app can show you the subjects and let you pick; the expensive full-resolution extraction only runs on the one you choose. When you tap, Pressbook checks which subject's mask you actually hit, so a photo with two people gives you the person you pointed at rather than both.
Core Image composites that mask into a PNG with a transparent background, and the cut-out is saved into the project, referenced by a content hash so the same lift is never stored twice. Every step of that runs on the device. The photo is not uploaded to a server to be cut out.
Style the edge
A bare cut-out can look like it was pasted in, so Pressbook gives the sticker an edge. There are three treatments: raw, the plain cut-out; outline, a clean rim around the subject; and outline with shadow, which adds a soft drop shadow so the sticker lifts off the page. The outline defaults to a thin white rim, around one percent of the subject's short side, and you can take it from a hairline up to a thick border and change the color. The white-rim look is the classic sticker, and it does most of the work of making the cut-out read as intentional.
Place it anywhere
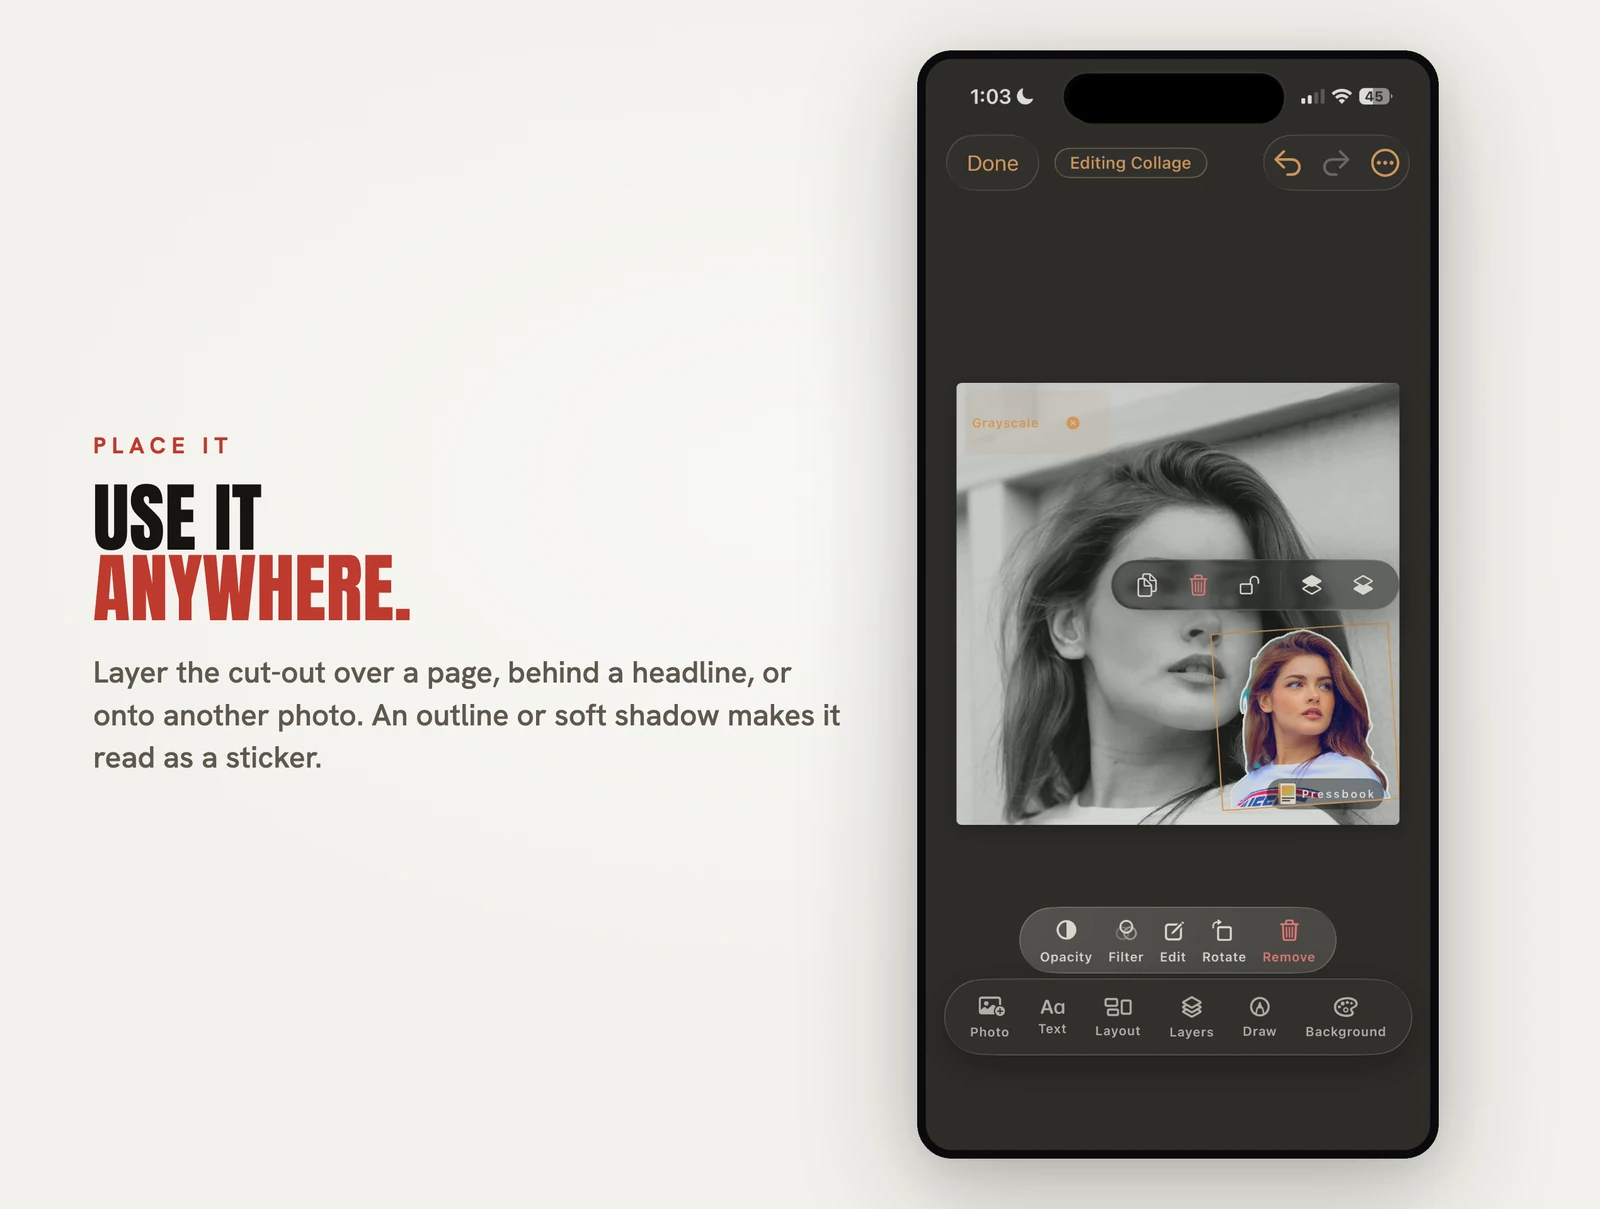
Once it is a sticker, it behaves like any other layer. Resize it, rotate it, and put it wherever you want: over a page background, behind a headline, on top of another photo. Stack a few of them. The sticker is a layer in the same canvas editor that handles text, overlays and drawing, so it sorts in front of and behind other elements like everything else. It also drops straight onto a page inside a full photo album, not just a standalone edit.
You can paint the photo back in
One detail that pays off later: when Pressbook makes the cutout, it also keeps the original photo and a full-frame version of the mask. That means the Draw tool can erase part of the sticker and reveal the original photo underneath, in pixel-perfect alignment. If the automatic cut took a little too much, or you want to bring back a hand the mask trimmed, you paint it back. The cut-out is a starting point, not a final answer.
On the device, like everything else
Subject detection, mask extraction and compositing all happen locally. The cut-out lives in your project file, which on iOS is encrypted on disk when your phone is locked. Nothing about the photo, or the sticker made from it, leaves your device. That posture is the point of the studio, and we lay it out in Why we built SideSwipe Labs.
Try it
Find a photo with a clear subject, open it in the Pressbook editor, and tap the subject to lift it. Give it a white outline and drop it onto a plain page. While you are in the editor, the type tools are worth a look too: see curved text on photos for bending a caption around your new sticker.
Start an album in Pressbook, free on the App Store, and make a sticker from a photo on your phone right now.